Audio visualisation with WebGL and webkitAudioContext

Get the source at Github

For a while I wanted to experiment with audio visualisation in the browser, with the new functionality in Chrome. My graduation project concerned the other way around, namely the sonification of the dom of any webpage. To create this demo I mainly used, some html5rocks info
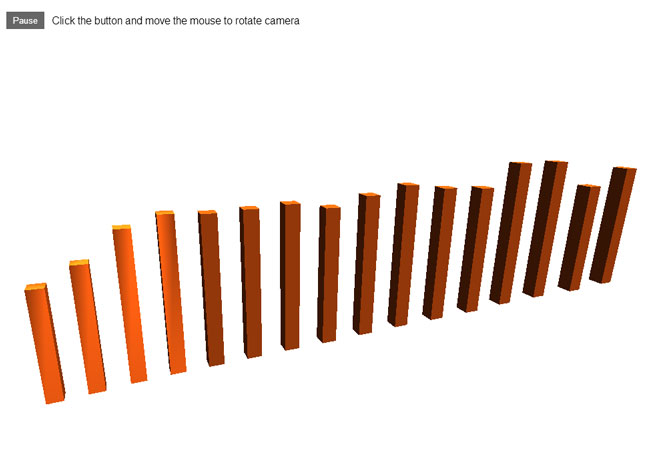
Example

Check the “chrome only” demo

WebGl audio visualisation

Parts explained

The workhorse of the visualisation is the “webkitAudioContext” currently available in Chrome. With the webkitAudioContext it is possible to create an audio analysis. The following snippet is the setup for the analysis .

     // create the analyser
     var context = new webkitAudioContext();
     var analyser = context.createAnalyser();

    //initialize
    function onLoad(e) {
                startThreeJs();
                var source = context.createMediaElementSource(audio);
                source.connect(analyser);
                analyser.connect(context.destination);
                rafCallback();
     }
     window.addEventListener('load', onLoad, false);

The rafCallback function is where the visualisation happens, the data of the audio is stored in an bytearray every available frame. For this visualisation I only used 15 ‘frequency’ bars to keep the animation smooth, for real purposes you should use the whole spectrum.

     // bind the audio data to the web gl cubes
     function rafCallback(time) {
                window.requestAnimationFrame(rafCallback);

                var freqByteData = new Uint8Array(analyser.frequencyBinCount);
                analyser.getByteFrequencyData(freqByteData);

                for (var j = 0; j < MAX_BAR; j++) {
                    var magnitude = freqByteData[j];
                    var delta = magnitude / 100;
                    cubes[j].position.y = cubesPos[j] + delta * 0.25;
                    cubes[j].scale.y = delta;
                    // categorize color on amplitude
                    var color =  0xf5a711;                
                    if( delta > 0 && delta < 1 ){
                       color = 0xf5a711;
                    }else if( delta > 1 && delta < 2 ){
                        color = 0xf55c11;
                    }else{
                        color = 0xcd0505;
                    }
                    cubes[j].material.color.setHex( color );
                }
      }

Feel free to use and abuse the source

Papervision poetry

Since I started with papervision the library really got me. I didn’t miss any function during the creation of this simple poetry aplication. However I must say that I did not focus on collada and importing 3D models into this little test. One thing that does concern me is the performance, hence I suspect that it is rather the flash player than papervision. Nevertheless this simple test already draws 60 percent off my core2duo laptop.

Application functionalities

This little application makes use of dynamic font loading and uses a seperate class file to give the cubes a movieclip face with a dynamic textfield. Download the papervision-poetry source.

But the fun part stays, creating realtime interactive 3D scene’s. I have a bachelor degree in product design, and some working experience in the field. But none of the 3D things I did back then were realtime, of course you could interact with a 3D model on a very high granular level. I cannot wait to see more interference between 3D and the still flat world of internet.

It struck me that working with papervision is easy and real fun, it provides sufficient functionality to seperate a 3D model be interactive with those seperate parts, keep up the good work!